If you need to learn how to use a dab rig, or just need to brush up on some of the basics, we get it! Dabbing requires a several tools, the knowledge of how to use them properly, and how to stay safe while using them. There's a lot of ground to cover! But don't worry - once you have this basic information in your back pocket, you'll be navigating the world of dabbing like a pro.
HOW TO CHOOSE A DAB RIG
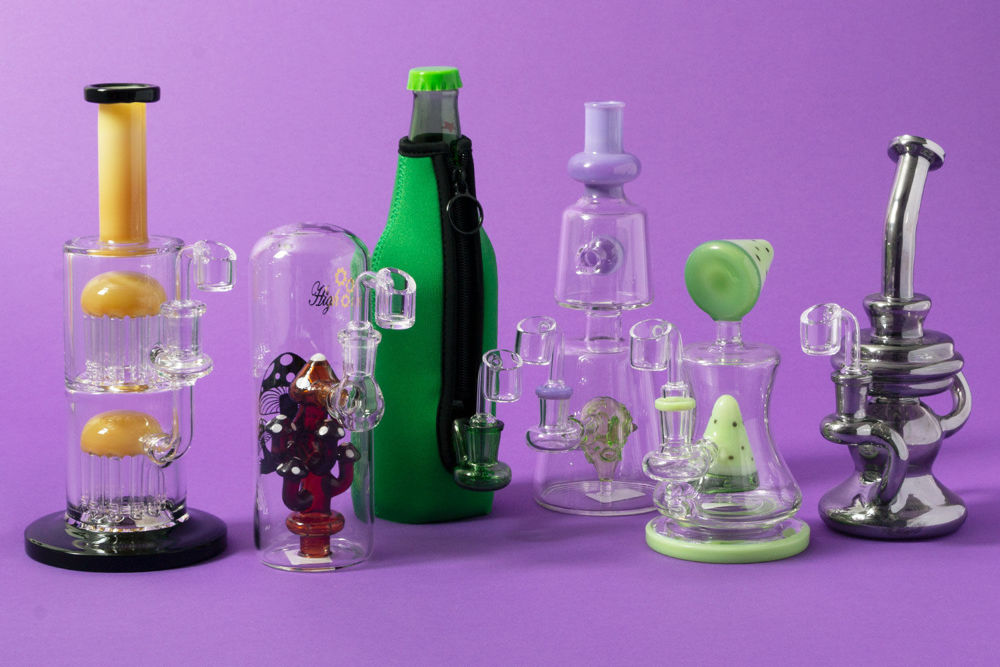
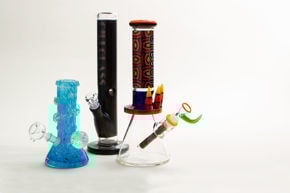
Before getting started on dabbing, the first step is to pick the best dab rig for you. These are the main things you want to consider to choose a rig.
Size: Be sure to determine your preferred size of your next piece. Many people prefer their concentrate rigs on the smaller size, because it is believed that a smaller chamber locks in the flavor and potency more effectively than a large-chambered piece. However, it truly comes down to personal preference and practicality.
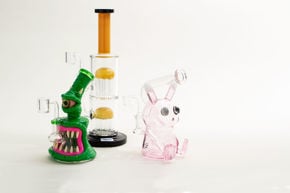
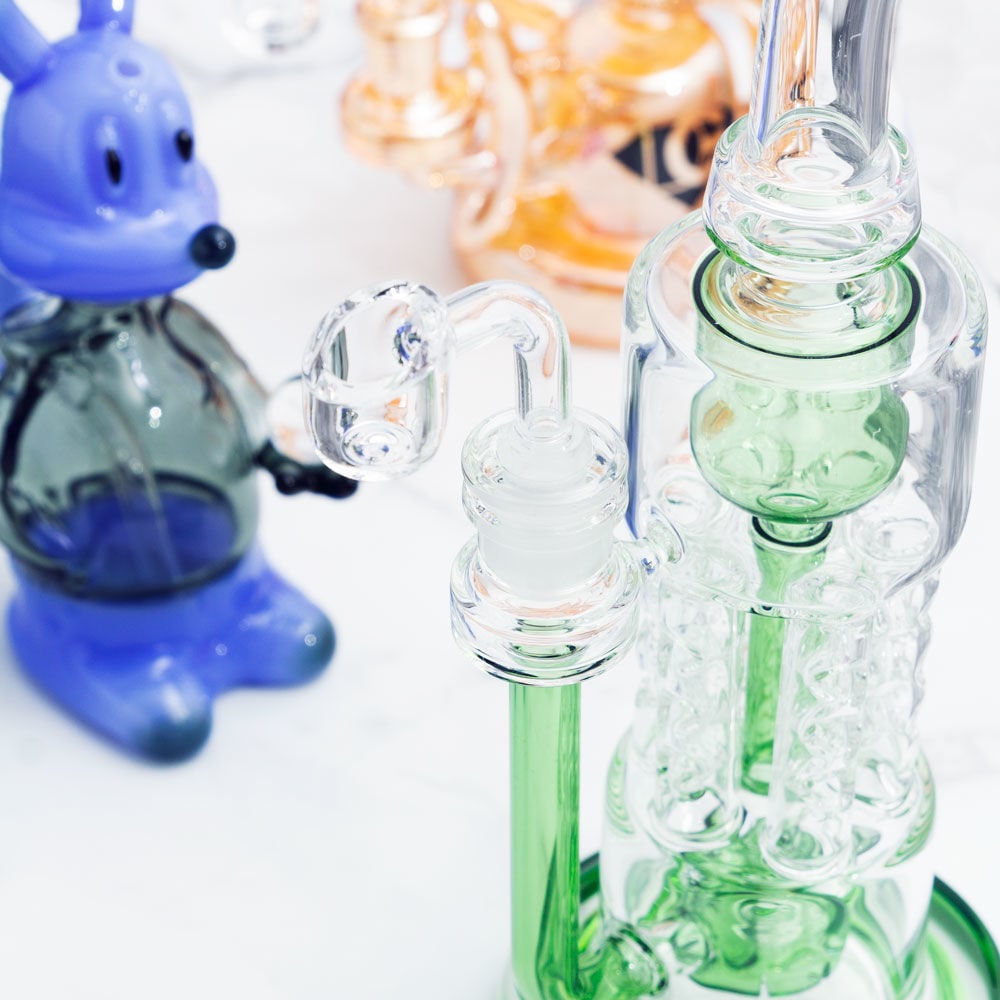
Percolator Style: This is a big determiner! If you prefer your hits to be extremely cool and smooth, seek out a dab rig with a heavily-slotted perc such as a honeycomb perc, matrix perc, or tree perc. The hot vapor has increased contact with water, resulting in a hit that’s easier on the lungs. However, believe it or not, some dab-enthusiasts prefer less filtration when dabbing! The theory behind this is that the more percolation there is, the less potency your dab may have. So if you don’t require your dabs to be overly cooled, and more heavy-hitting, potent hits are your goal, simpler percs with less holes such as a fixed stem perc would be ideal.
Glass Thickness: Before biting the bullet and copping your new rig, you’ve got to consider glass thickness! The thickness of glass can directly affect how durable and long-lasting a piece will be. Many cheap dab rigs are crafted from 3mm borosilicate glass: These rigs could be a great option if you won’t travel often with your piece, and are generally careful with your glass. However, if you know you’re not always the most gentle with fragile items, you have a couple options: Either seek out a piece that has a glass thickness of 4mm or above, or opt for a silicone dab rig for a completely unbreakable design.
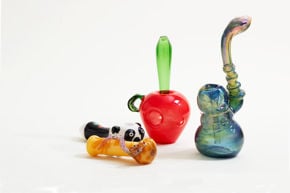
Design: At the end of the day, putting aside all the technical features, you should love the design of your rig! Even if a piece works nicely, you’re unlikely to love it if you don’t like how it looks. Browse through a variety of chamber shapes, mouthpiece styles, and color options to narrow down to what you really like!
HOW MUCH WATER TO PUT IN A DAB RIG
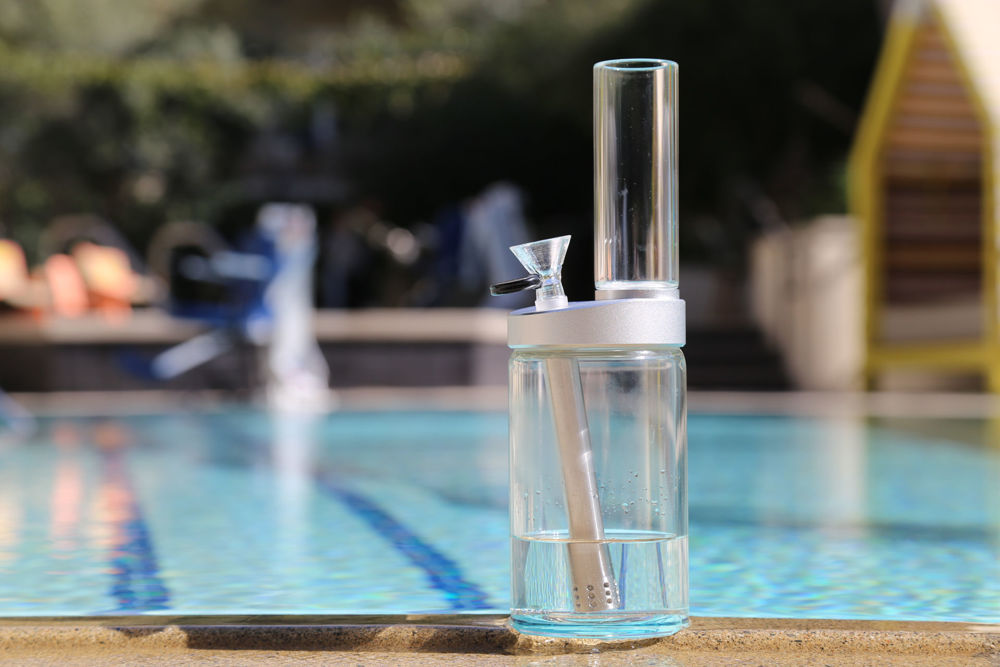
Filling your dab rig with water is simple! First and foremost, ensure that every percolation hole is submerged in water. After that, it’s mainly personal discretion, however an easy rule-of-thumb is to fill water approximately a half of an inch above the holes. Too much less than that can compromise the amount of filtration and cooling you get from the percolation process, while an excess of water usually results in a blocked pull. Not only that, but too much water leads to an unwelcome inhale of water. Yuck! For your ideal hit, do some experimentation with temperatures: Fill it up with ice-cold water for a chilled hit, or try warm water for a warm and soothing hit. But all that really matters is that the water's fresh and clean!
HOW TO TAKE A DAB
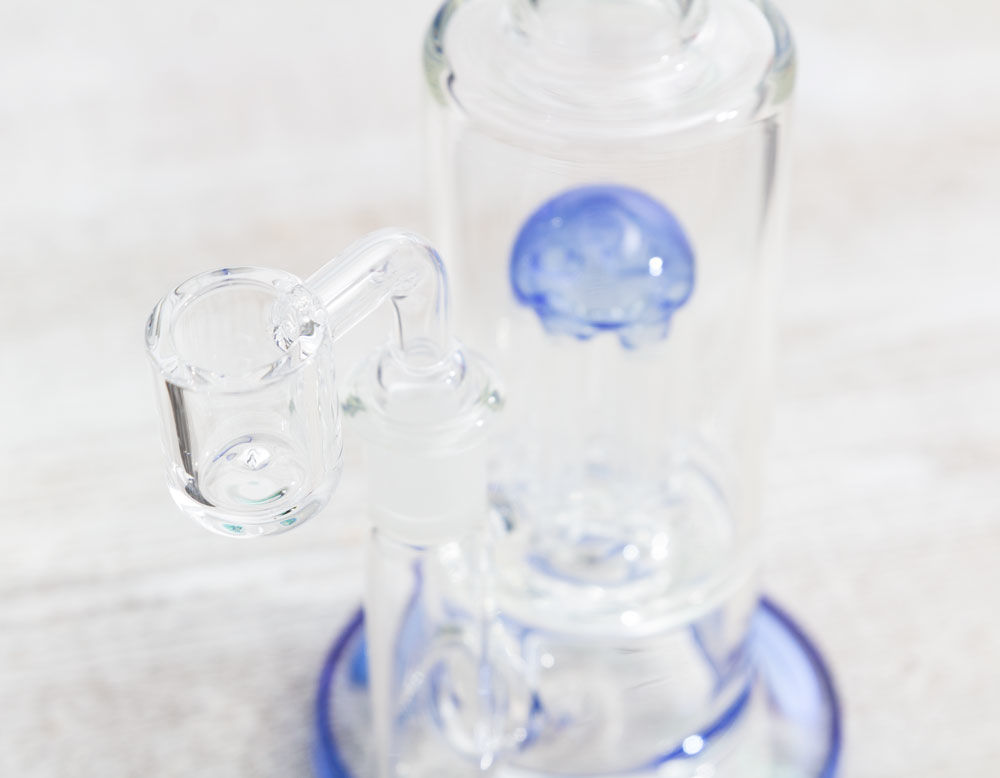
The length of time you torch a nail has some loose guidelines, however, it’s greatly dependent on your preference. Do you prefer low-temp dabbing? Or is a red-hot dab more you're speed? Especially if you’re new to dabbing, these are things you’ll have to learn through trial and error. There’s also the safety element of how hot to heat your nail, so it’s not something you’d want to mess around with.
A solid guideline is to heat the nail for approximately 30 seconds until it lightly glows red, wait 30-45 seconds to allow it to cool down to a safe temperature, then drop in your concentrate. But what about low-temp or cold-start dabbing? Over the years, this method has increased in popularity. This is because lower temperatures will always feel gentler on the throat and lungs, as well as potentially hold in more flavor than the classic red-hot dab. To execute a proper cold start dab, a standard quartz banger nail is ideal due to their design that distributes and retains heat very efficiently. Now, load your concentrate into the nail. It’s called “cold-start” because you’re literally starting cold, applying absolutely no heat before the wax goes in. Apply your carb cap, and begin to slowly torch the nail. Once the wax begins to bubble, it has reached temperature, so you can now begin to maneuver your carb cap and take your dab. So easy, and so smooth!
WHAT DAB NAIL SHOULD I START WITH?
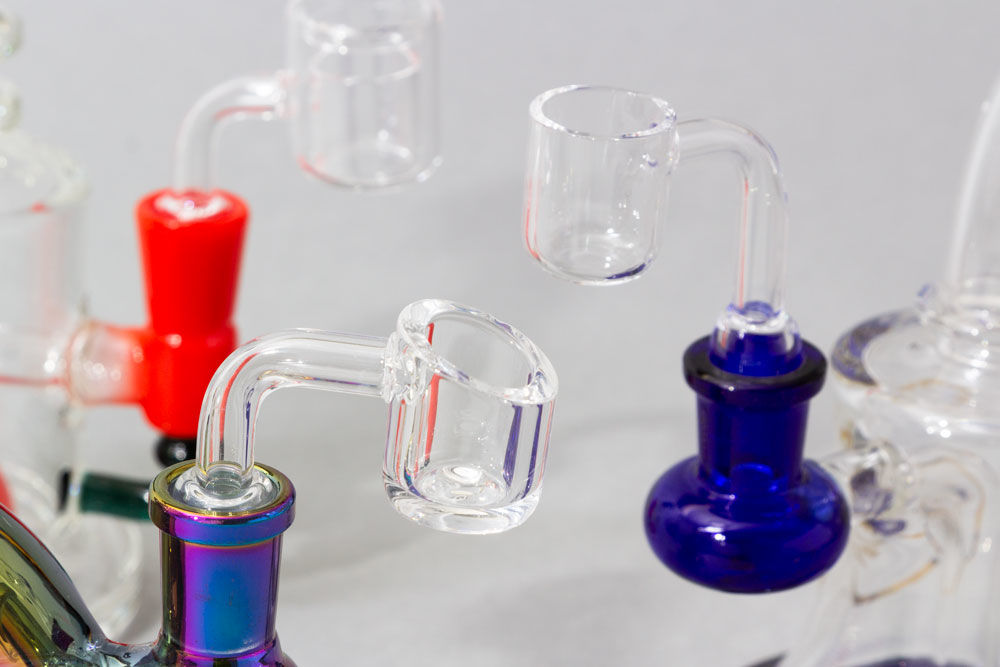
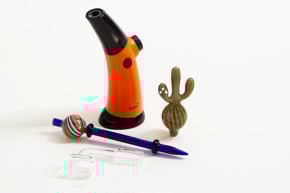
A big component of dabbing is your nail, also called a banger! This is where your concentrate is heated into vapor, so it’s easy to see why it’s so important. You wouldn't be dabbing if it weren’t for your nail! The most popular type of dab nail is a quartz banger. Likely, even if you’re a beginner, you’ve seen them before: To simplify, it’s a cylindrical quartz bowl connected to an angled tube that is inserted into your water pipe. A fantastic starting point would be a thick-glass quartz nail such as our best-selling 4mm Flat Top Quartz Banger! Thick glass means increased durability, and increased heat retention.
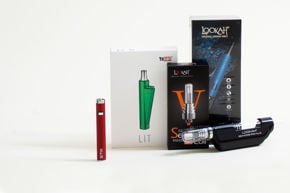
If you want to get high-tech with it or you simply don’t want to deal with torches and scorching glass, it may be worth it to invest in an e-nail: While electronic nails require some extra care and knowledge, it can be a great way to streamline the dabbing process. Check out the Lookah Q7 E-Nail or Yocan Torch E-Nail for some fantastic options!
WHAT ABOUT A CARB CAP?
.jpeg)
Third in line of importance behind the rig itself and your banger nail is the carb cap! This tool is incredibly valuable for dabbing, which we delve into more detail on in our past blog, "All About Carb Caps." Simply put, carb caps are vital for dabbing because they form a seal on the nail, which allows heat to be retained to vaporize concentrate more effectively, while keeping vapor inside the rig where it should be. The two most popular styles for carb caps are bubble carb caps and directional carb caps, which both are extremely effective for generating quality hits.
WHAT TORCH SHOULD I GET?
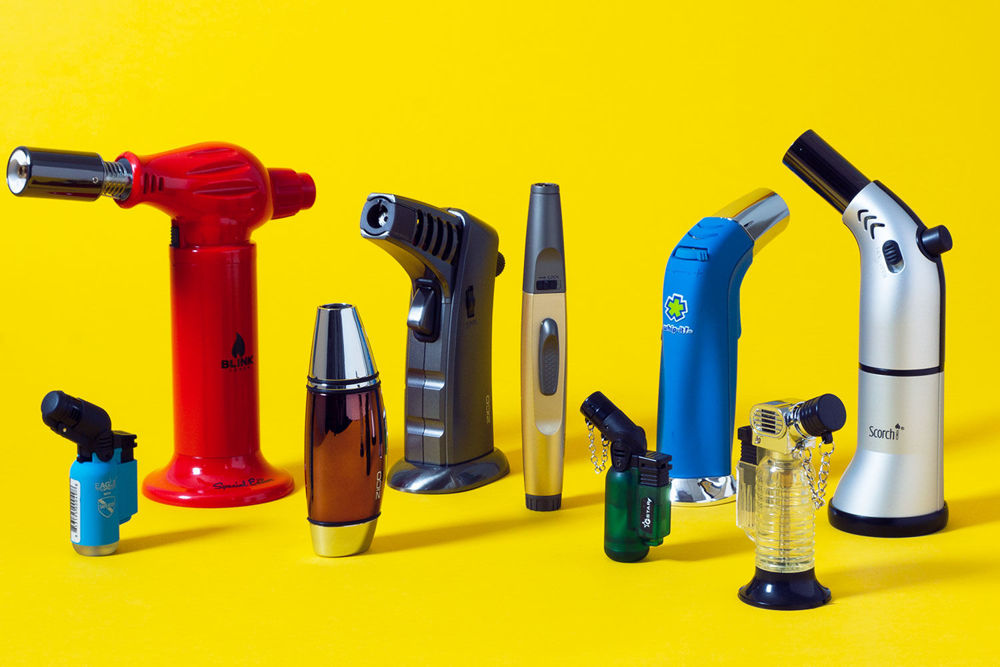
The torch is arguably the simplest dabbing tool, since there are so many on the market, many of which are appropriate for dabbing! It’s preferable to get a torch that’s on the medium-to-large side, as those lighter-sized mini torches are unlikely to be able to heat up your nail effectively. For reference, most torch lighters designed for dabbing have a maximum of 2,500 degrees Fahrenheit. Get yourself a decent torch that has a butane refill port, as well as a flame adjuster which allows you to control the size and power of the flame. Hit up our Torch section for a wide selection of torch lighters for dabbing.
TAKE PRECAUTIONS
The process of dabbing involves high heat that can really scorch you if you’re not careful! Ensure that when you handle a torch, you’re extremely mindful of where you direct the flame... no one wants to start a fire. Also, be careful to not touch the dab nail while dropping in wax or using a carb cap, and do not touch it within a couple minutes of torching. Additionally, always be mindful and switch the flame lock on your torch after each use, if your torch includes this feature. Be safe, y’all!
IN CONCLUSION…
Dabbing certainly is more daunting than ripping on a hand pipe, or even using a bong. However, once you get the basics down, it really isn’t intimidating! As long as you have the proper supplies, learn the basic techniques, and are always aware of safety precautions, there’s nothing standing in your way of a great dabbing experience.
by Vanessa Matthews

