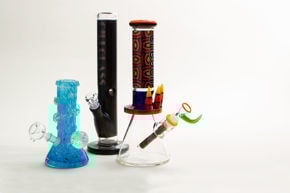

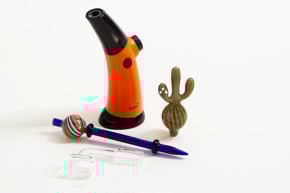


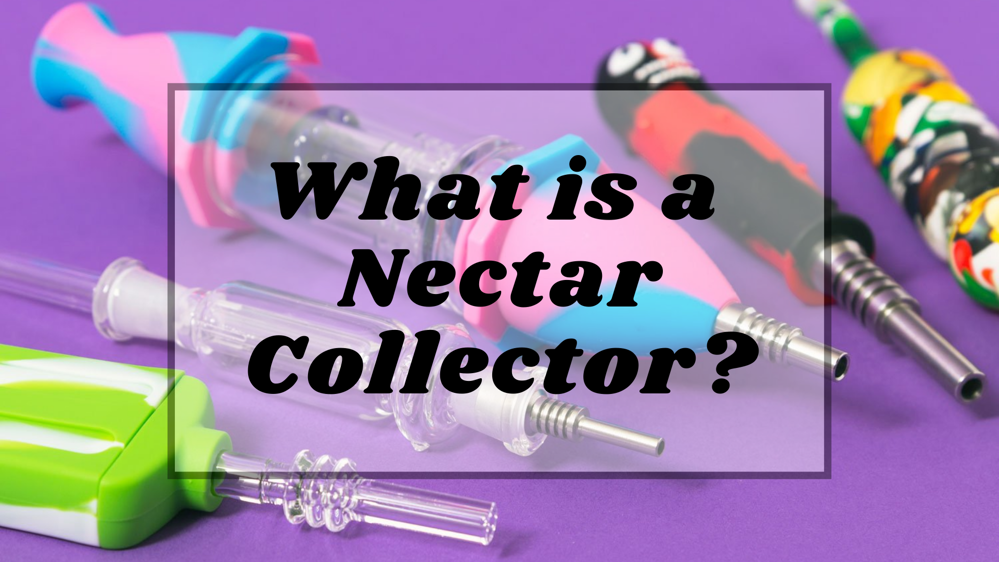
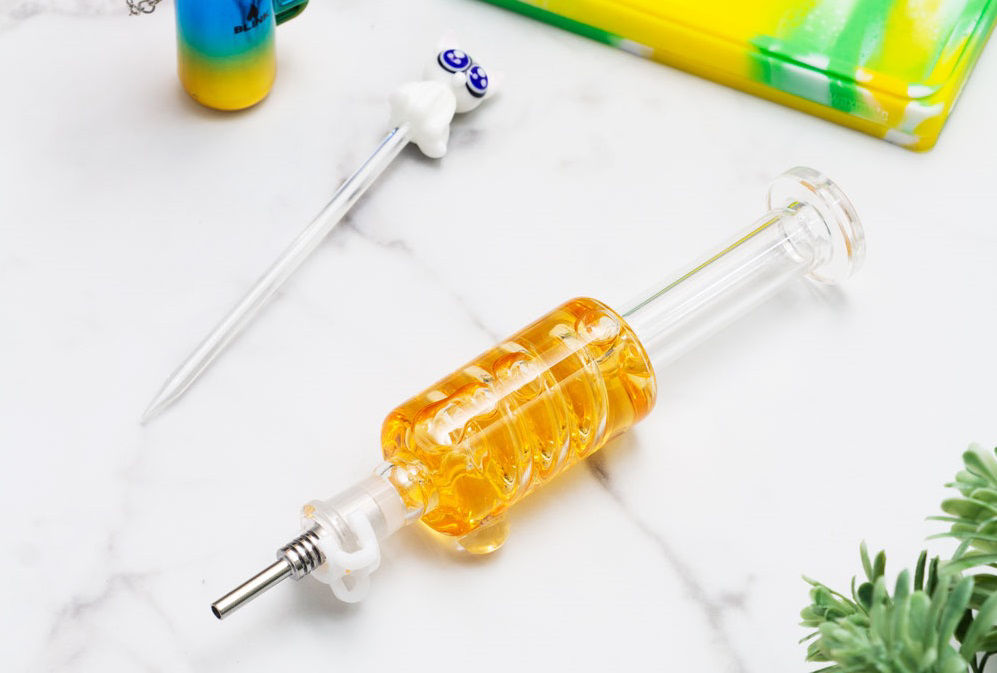
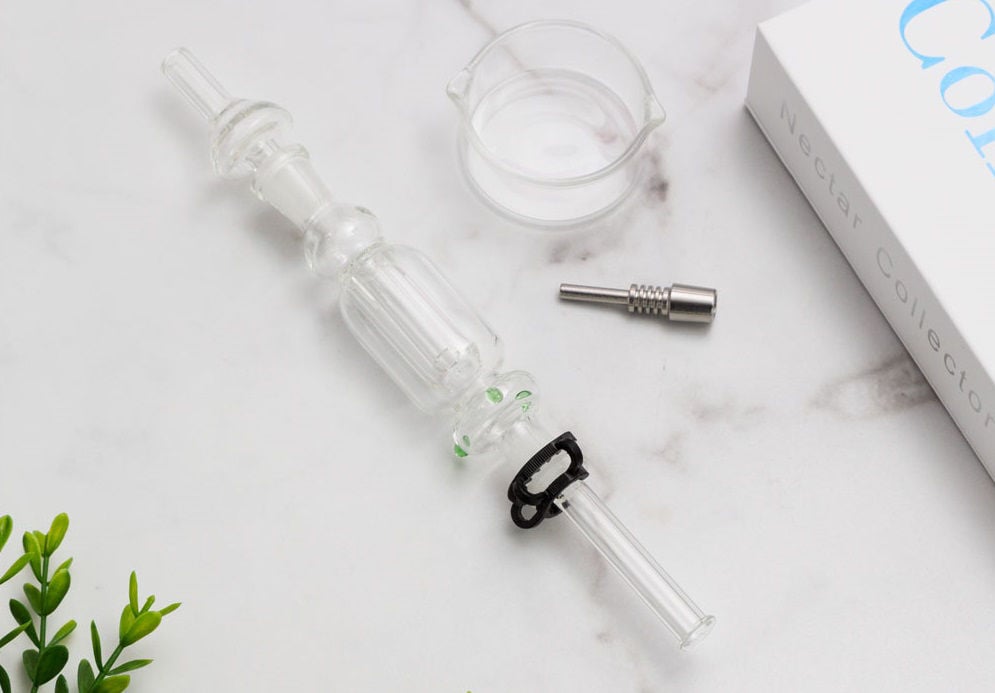
A nectar collector is one of the latest innovations in the world of concentrate smoking. Nectar collectors consist of three main components: the tip, the body, and the mouthpiece. The tip is made of glass, titanium, or quartz, and is the only part of the collector that comes in direct contact with your concentrate. The tip is essentially the nail of the nectar collector. The mouthpiece is simply a removable glass extension much like the end of a spoon pipe. Think of it as the ultimate one hitter for dabs! (Keep in mind, some nectar collectors do not have a separate mouthpiece.) Add a chamber with a percolator, and you now have the krazy straw of dab pipes.
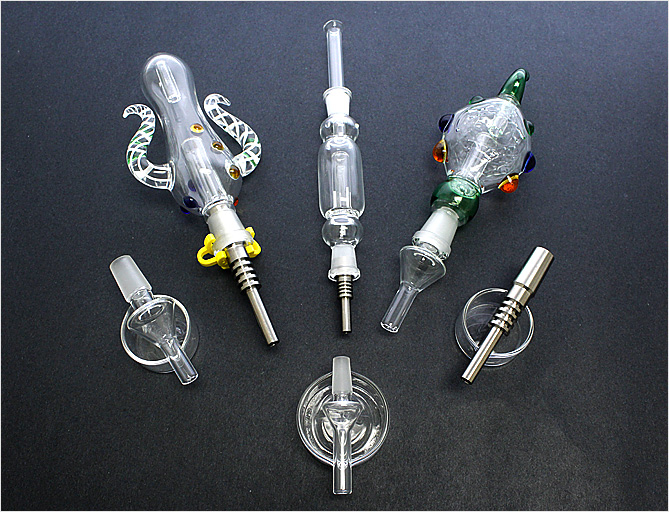
A dab straw is a common way to describe a nectar collector. In fact, the first nectar collectors were basically just glass straws, but have developed to incorporate water-cooling percolators and larger chambers. When using a nectar collector, you are essentially inhaling your dab hit like if you were sucking water out of a bowl. Most nectar collectors come with a small glass dish to put your wax or oil in. This is what you’ll smoke out of. Some folks use a silicone dab mat as an alternative to a glass or quartz dish.
An advantage of using a nectar collector compared to a dab rig is that nectar collectors are extremely efficient. You only smoke what the tip comes in contact with, so there is little to no waste of your wax. You can take the exact size hit you want without watching your stash go up in smoke while you’re exhaling! So they save you money, too? Not bad. They’re much more portable than a dab rig as well, which is another benefit, being able to use them out hiking or to a festival without drawing too much attention to yourself.
Probably the biggest advantage to most discerning dabbers, though, is that without question a nectar collector is one of the best ways to get the most taste out of your concentrates. Once you try it, you’ll notice the difference right away. This is because the level of filtration is so light, and vapor is inhaled directly and immediately. Not to say that these should completely replace your dab rig – there’s definitely a place for both, but for personal smoking, or to get the most out of your high-end concentrates, a nectar collector is definitely worth having in your arsenal. It’s compact and efficient, and doesn’t mind stepping back and letting your concentrate be the star.
HOW TO USE A NECTAR COLLECTOR
1. Fill it with water (When necessary)
If your collector has a percolator in it, you’ll want to start by filling the chamber with water. This should be done before you put the other two pieces on. Most recommend filling the chamber to about halfway or just below halfway. Try that out and then experiment over time to see what works best for you! This step is only required when applicable, as there are different types of nectar collectors. The more intricate ones feature water chambers for vapor cooling, however some are simpler and only have an open chamber for vapor to pass through. This type is commonly referred to as a honey straw or dab straw!
IMPORTANT: Fill your collector with water before putting it together. Having the mouthpiece off will make it easier to get the water in, but having the titanium/quartz/glass tip off is imperative so that water does not get trapped in the tip. Trapped water can cause cracking in either the body of the pipe or the tip itself when it is heated up.
2. Put it together
The tip and the mouthpiece both go into the body of the collector in the same way. Fully insert the tip and the mouthpiece into the proper joint, and secure the tip with a keck clip. These are little plastic clips with two partial hoops that attach the tip firmly to the body, necessary for most glass nectar collectors. If the nectar collector you have doesn’t come with a keck clip, you can order those from us. However, silicone nectar collectors do not include nor require a keck clip, as the silicone material firmly grips the tip on its own.
IMPORTANT: Make sure the tip is completely secure before you start to heat it up. You definitely don’t want it falling out while it’s heated to several hundred degrees. No matter where it lands, it will not be good!
3. Heat up the tip
Hold the nectar collector horizontally and heat the tip with your favorite dab torch. Holding it horizontally keeps any oil or wax that is already built up in the tip from leaking out. You’ll want to try different levels of heat with different types of concentrates, so experiment a bit and see what works best for you. Excess heat may cause cracking of the glass joint over time, so take it easy. It does not need to be glowing red to work. Remember, you want to vaporize your concentrate, not burn it.
4. Smoke it
Several smokers have suggested to begin inhaling before the tip reaches the wax. Touch the tip gently to the wax in the dish and draw in the smoke. Keeping along the edges of the concentrate at first will be the most efficient way to keep the rest of your stash tasting good. If you smoke from the middle to start, you’ll potentially burn the edges of the rest of your oil or wax before you smoke it. This isn’t a hard-and-fast rule, just a friendly suggestion.
5. Let it cool & Store away
Let it cool before you try and take it apart. Carefully remove the tip and mouthpiece. If either piece gets stuck in the chamber, don’t force it. Submerge the entire piece in a bowl of hot water and let it sit for a minute. That should do the trick to loosen up the wax and release the pieces from each other. A quick and easy way to empty the chamber of water is to hold it over the sink and blow through it. After your nectar collector has been cooled, disassembled, and emptied of water, you’re ready to store it away for your next use. Many nectar collector kits are sold with a corresponding case or box. If not, there are many protective pipe cases on the market. For example, our Medium Carrying Case can work for some sizes and styles of nectar collectors. Just be sure to determine the dimensions of your piece before purchasing a case for it!
HOW TO CLEAN A NECTAR COLLECTOR
1. Disassemble
Before you can clean your nectar collector, you have to separate all the pieces first. Chambers, keck clips, and tips have to all be taken apart so you can see and access the insides for a deeper clean.
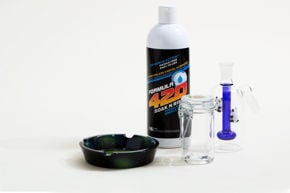
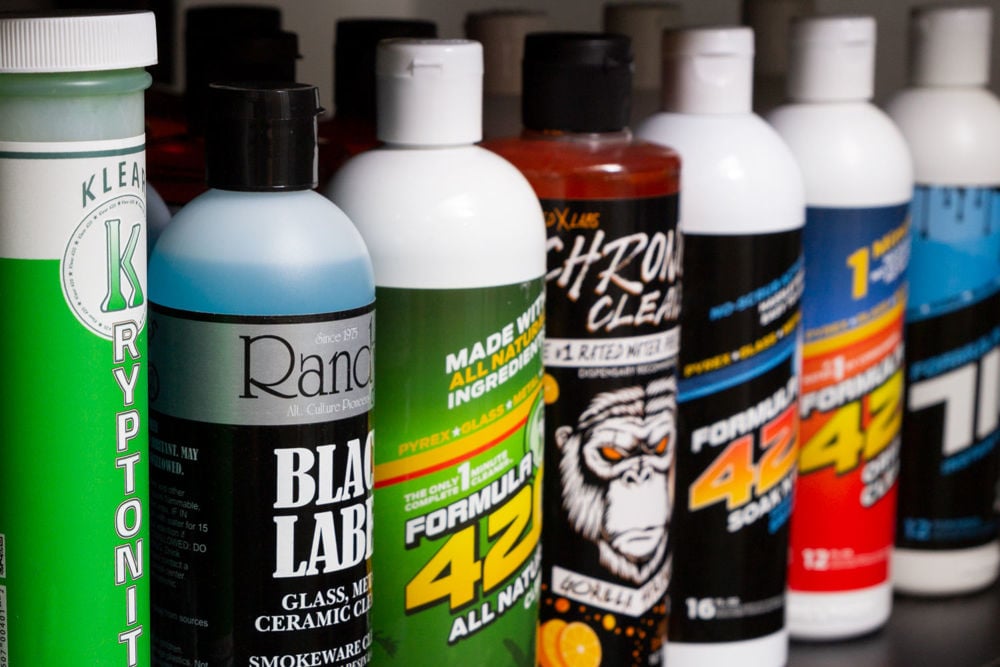
2. Fill a container with cleaner
There are a couple of options when it comes to a cleaner for your nectar collector, and they fall into two categories: Formulated cleaners and DIY cleaners. We suggest a cleaner created specifically for sticky, stubborn wax residue such as Formula 710 Instant Dab Rig Cleaner. While we guarantee formulated cleaners will be the strongest option, you can also combine a high-percentage isopropyl alcohol and coarse salt to create a solution. This may require extra soaking time versus a formulated cleaner, but it gets the job done. You can use either a bowl or a water-tight plastic bag; whatever you have on hand.
3. Soak the pieces
Once you’ve filled your container with cleaner, submerge each piece in the liquid. Make sure each piece is fully covered. The time frame can vary based on cleaner type and the amount of buildup on your piece, but the shortest time would be 30 minutes, while a moderately dirty piece may take a couple hours. If you have a super grimy nectar collector, or just want to have a total piece of mind that everything will dissolve, you can even soak them overnight. The longer it’s left to soak, the less work you'll have to put in after the soak.
4. Rinse & Spot clean
After you’ve soaked the pieces for an appropriate amount of time, rinse each component thoroughly with the hottest water possible. If there’s any residue left behind, utilize Q-tips, cotton swabs, and/or pipe cleaners with a small amount of isopropyl alcohol to spot-clean any stubborn spots. Feel free to re-rinse afterward if needed.
5. Dry & Store away
Now that you’re left with a beautifully clean nectar collector, allow it to air dry at an angle where all excess water can easily drip out before storing away.
To check out more styles of nectar collectors, see exact dimensions, or purchase one, just click here: NECTAR COLLECTORS
By Doug Mackar
Revised by Vanessa Matthews
January 2022